Food photography isn’t just about snapping a picture of your dinner. It’s an art form, a science, and a crucial element for restaurants, food bloggers, and anyone looking to showcase the deliciousness of food online. Whether you’re aiming to tantalize taste buds on Instagram or create mouthwatering visuals for a cookbook, understanding the fundamentals of food photography is key. This guide will delve into the essential aspects of food photography, providing actionable tips to elevate your food visuals to the next level.
The Essentials of Food Photography Lighting
Natural Light: Your Best Friend
Natural light is often considered the best light source for food photography. It renders colors accurately, creates soft shadows, and generally makes food look more appealing.
- Positioning: Place your food near a window, ideally with diffused light. North-facing windows are often preferred as they provide consistent, soft light throughout the day.
- Direction: Experiment with different angles. Side lighting can emphasize texture, while backlighting can create a dramatic rim light. Front lighting is generally less flattering as it can flatten the image.
- Diffusion: Use a sheer curtain or diffusion panel to soften harsh sunlight. This prevents overexposure and reduces harsh shadows, leading to a more pleasing image. For example, a white sheet draped over a window can act as a simple and effective diffuser.
- Reflectors: Use a white reflector board (or even a piece of white foam core) to bounce light back onto the shadows, brightening them and adding dimension to your food.
Artificial Light: When the Sun Doesn’t Cooperate
While natural light is ideal, it’s not always available. Mastering artificial light is crucial for consistent results.
- Types of Lights: Continuous lights (LED panels or softboxes) are generally preferred over flashes for beginners, as they allow you to see the light’s effect in real-time. Invest in lights with adjustable color temperature.
- Color Temperature: Pay attention to the color temperature (measured in Kelvin). Aim for a temperature that mimics natural daylight (around 5500K) for accurate colors. Using a warmer (lower Kelvin) or cooler (higher Kelvin) temperature can create different moods.
- Light Modifiers: Use softboxes or umbrellas to diffuse the light and create a softer, more flattering look. Avoid direct, harsh light, as it creates unflattering shadows.
- Example: If photographing a dark chocolate cake, slightly warmer light can enhance its richness and depth.
Composition Techniques for Appetizing Food Photos
The Rule of Thirds
The rule of thirds is a fundamental composition technique that divides an image into nine equal parts using two horizontal and two vertical lines. Placing key elements along these lines or at their intersections creates a more visually appealing and balanced composition.
- Application: Position the main subject of your food photo (e.g., a slice of cake or a stack of pancakes) at one of the intersection points for greater visual impact.
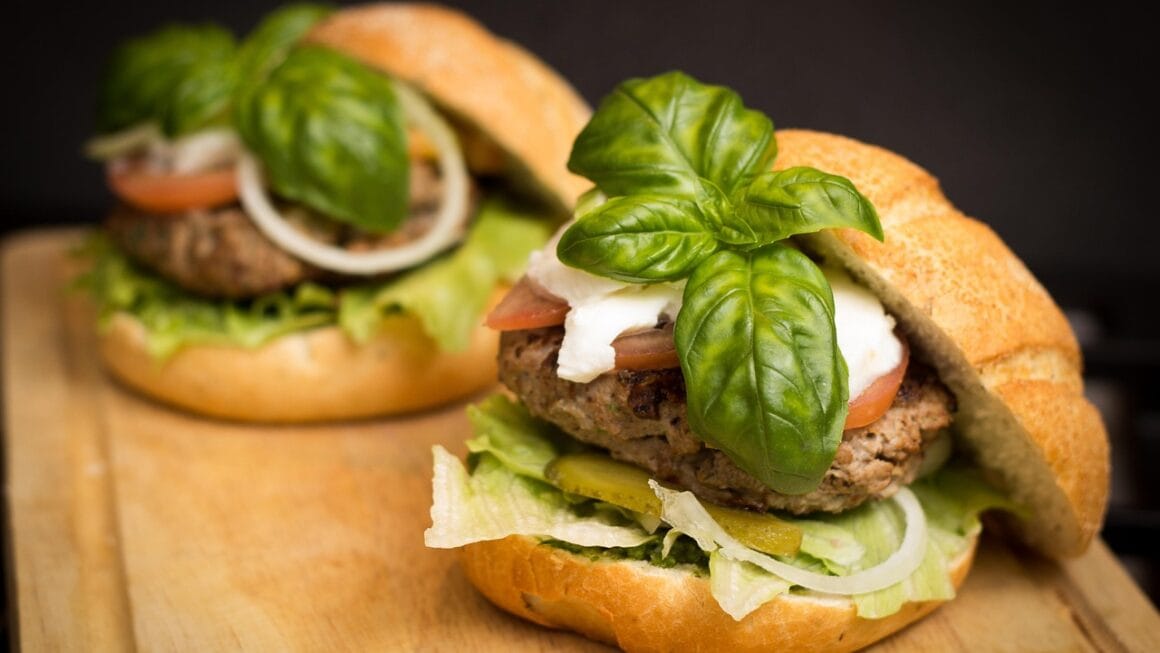
- Example: If photographing a burger, place the most visually interesting part (e.g., the melted cheese or a juicy tomato slice) at an intersection point.
- Benefits: It creates visual interest and helps guide the viewer’s eye through the image.
Leading Lines
Leading lines are lines within the image that guide the viewer’s eye toward the main subject.
- Examples: A pathway, a river, or even the edge of a table can serve as a leading line. In food photography, silverware, arranged ingredients, or even the flow of a sauce can act as leading lines.
- Application: Use leading lines to draw the viewer’s attention to the focal point of your food photo. For example, arrange silverware to point towards the main dish.
- Impact: They create depth and perspective, making the image more engaging.
Negative Space
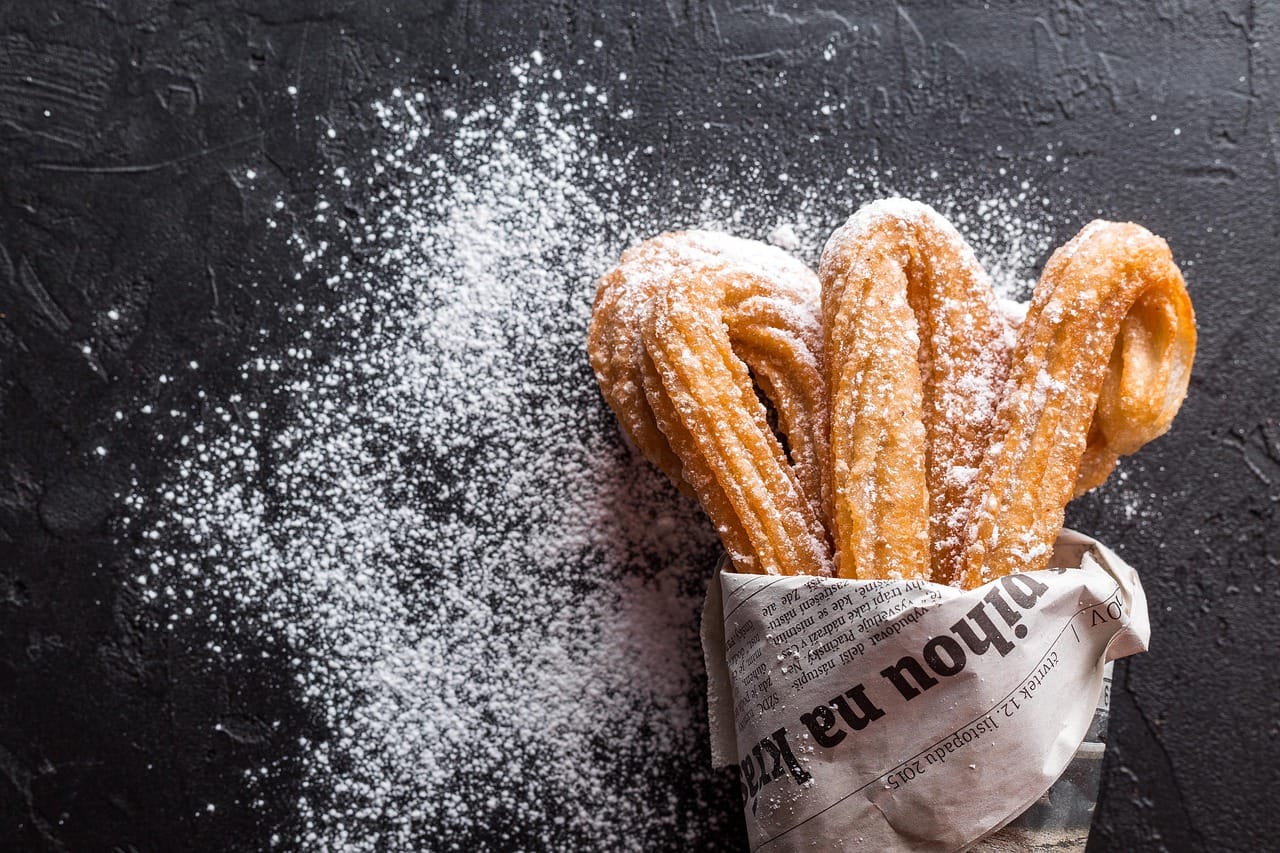
Negative space, also known as whitespace, is the area around the main subject of the image. It provides visual breathing room and helps to highlight the subject.
- Purpose: Prevents the image from feeling cluttered and overwhelming. It directs the viewer’s attention to the most important element.
- Example: Photographing a single donut on a large, plain plate with plenty of empty space around it emphasizes the donut and makes it stand out.
- Benefit: Simplifies the image and creates a sense of balance.
Depth of Field
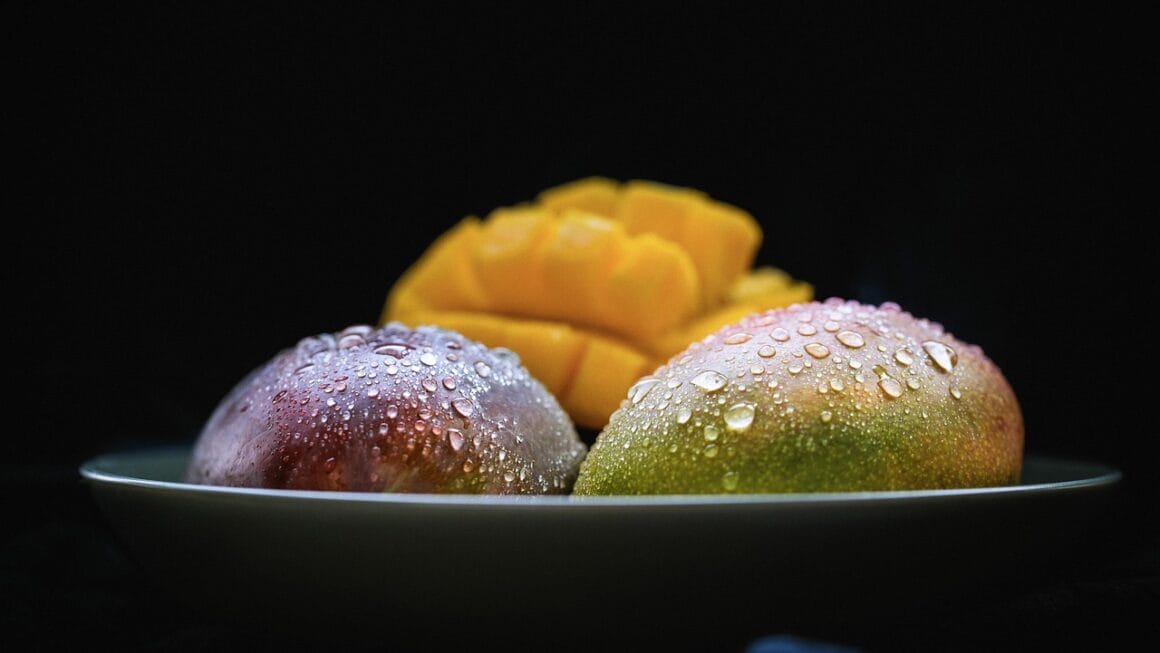
Depth of field refers to the area of the image that is in focus. A shallow depth of field (achieved with a wide aperture) isolates the subject by blurring the background, while a deep depth of field (achieved with a narrow aperture) keeps both the subject and background in focus.
- Shallow Depth of Field: Ideal for emphasizing specific details of the food, such as the frosting on a cupcake.
- Deep Depth of Field: Suitable for showcasing the entire dish, including its surrounding environment.
- Aperture Control: Adjust your camera’s aperture (f-stop) to control the depth of field. Lower f-numbers (e.g., f/2.8) create a shallow depth of field, while higher f-numbers (e.g., f/16) create a deep depth of field.
Choosing the Right Props and Styling
Props: Enhancing the Story
Props can add context, personality, and visual interest to your food photos.
- Selection: Choose props that complement the food and overall aesthetic. Consider the color, texture, and size of the props.
- Examples: Use rustic wooden boards for a farmhouse-style shoot, or elegant ceramic plates for a sophisticated look. Consider using linens, cutlery, and garnishes to enhance the presentation.
- Avoid Overcrowding: Don’t overwhelm the food with too many props. Keep it simple and focused.
Styling: Making Food Look Irresistible
Food styling is the art of making food look its best for the camera.
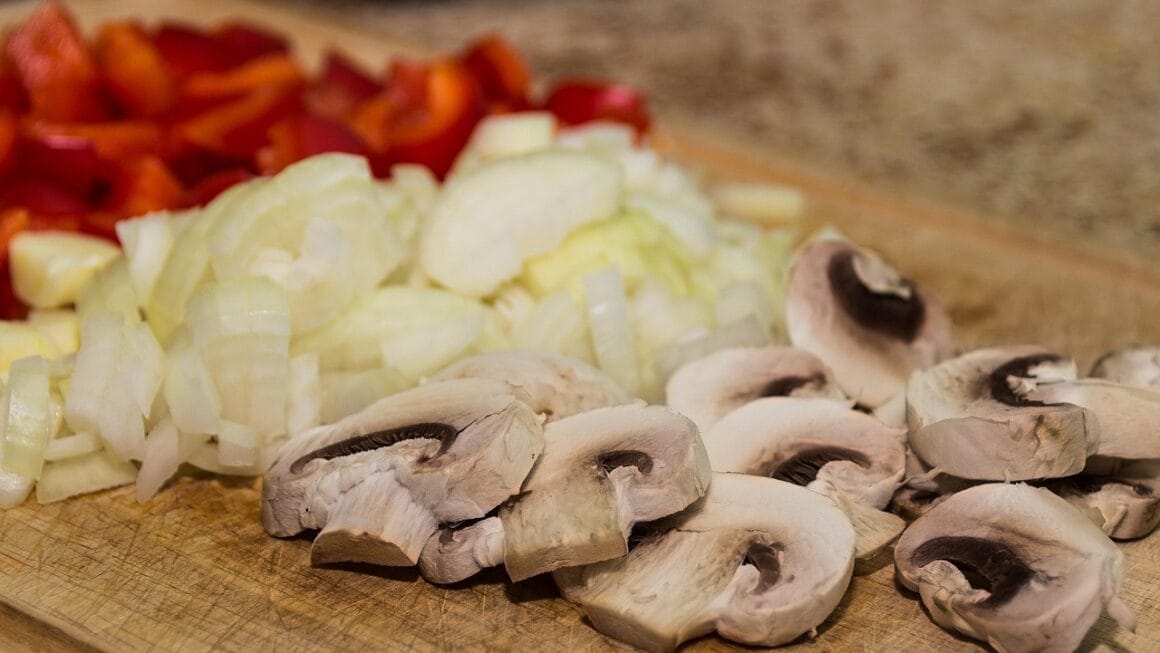
- Fresh Ingredients: Use fresh, high-quality ingredients. Wilted greens or bruised fruit will detract from the overall appeal.
- Arrangement: Pay attention to the arrangement of the food on the plate. Consider the height, texture, and color of the ingredients.
- Garnishes: Use garnishes to add a pop of color and visual interest. Fresh herbs, spices, and sauces can enhance the presentation.
- Example: A sprinkle of flaky sea salt on a chocolate chip cookie not only adds flavor but also creates visual texture.
- Quick Tips:
Brush food with oil or water to make it glisten.
Use tweezers to arrange small details.
Work quickly, especially with foods that wilt or melt easily.
Camera Settings and Post-Processing for Food Photography
Camera Settings: Mastering the Basics
Understanding your camera settings is crucial for achieving the desired look.
- Aperture: As mentioned earlier, aperture controls the depth of field. Choose an aperture that allows you to isolate the subject or keep the entire dish in focus.
- ISO: Keep the ISO as low as possible (typically ISO 100 or 200) to minimize noise. Increase the ISO only when necessary in low-light situations.
- Shutter Speed: Use a shutter speed that is fast enough to prevent motion blur. If shooting handheld, use a shutter speed that is at least twice the focal length of your lens (e.g., 1/100th of a second for a 50mm lens).
- White Balance: Set the white balance to match the light source (e.g., daylight, tungsten, fluorescent). This ensures accurate colors. You can also use a grey card to set a custom white balance.
- Shooting in RAW: Shoot in RAW format to preserve more information and provide greater flexibility during post-processing.
Post-Processing: Enhancing Your Images
Post-processing is an essential step in food photography.
- Software: Adobe Lightroom and Adobe Photoshop are industry-standard software for editing food photos.
- Adjustments:
Exposure: Adjust the overall brightness of the image.
Contrast: Enhance the contrast to make the food stand out.
White Balance: Fine-tune the white balance to ensure accurate colors.
Highlights and Shadows: Adjust the highlights and shadows to recover details in overexposed or underexposed areas.
Clarity and Texture: Add clarity and texture to enhance the details of the food.
* Color Correction: Adjust the individual colors to make them more vibrant and appealing.
- Sharpening: Sharpen the image to enhance the details, but avoid over-sharpening, which can create unwanted artifacts.
- Example: Use Lightroom’s radial filter to selectively brighten and sharpen the main subject of the image.
Understanding SEO for Food Photography
Keyword Research
- Identify Relevant Keywords: Use tools like Google Keyword Planner, Semrush, or Ahrefs to identify relevant keywords related to your food photography.
- Long-Tail Keywords: Target long-tail keywords (e.g., “best food photography lighting setup” instead of just “food photography”) to attract a more specific audience.
- Analyze Competitors: See which keywords your competitors are targeting.
Image Optimization
- File Name: Use descriptive file names that include relevant keywords (e.g., “chocolate-chip-cookies-food-photography.jpg”).
- Alt Text: Add descriptive alt text to your images that include relevant keywords. Alt text is important for SEO and accessibility. It helps search engines understand what the image is about.
- Image Size: Optimize your images for the web by reducing their file size without sacrificing quality. Smaller file sizes improve page loading speed, which is a ranking factor. Use tools like TinyPNG or ImageOptim to compress your images.
- Captions: Write engaging captions for your images that include relevant keywords. Captions provide context and can help improve your SEO.
On-Page SEO
- Meta Descriptions: Write compelling meta descriptions for your blog posts and pages that include relevant keywords. Meta descriptions appear in search engine results and can influence click-through rates.
- Header Tags: Use header tags (
,
,
, etc.) to structure your content and highlight important keywords.
- Internal Linking: Link to other relevant pages on your website to improve your website’s structure and SEO.
- Content Quality: Create high-quality, informative content that provides value to your audience. Content quality is a crucial ranking factor.
Conclusion
Mastering food photography requires a blend of technical skill, artistic vision, and a dash of SEO savvy. By understanding the principles of lighting, composition, styling, camera settings, and post-processing, you can create stunning food visuals that tantalize taste buds and capture attention. Remember to optimize your images and content for search engines to reach a wider audience. Start practicing today, and you’ll be well on your way to creating drool-worthy food photography that stands out from the crowd.